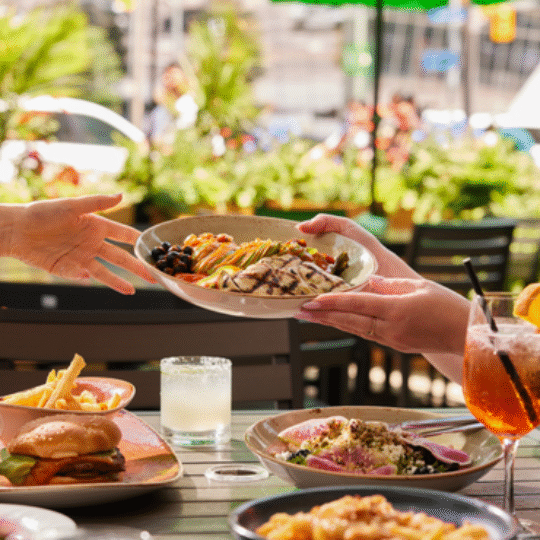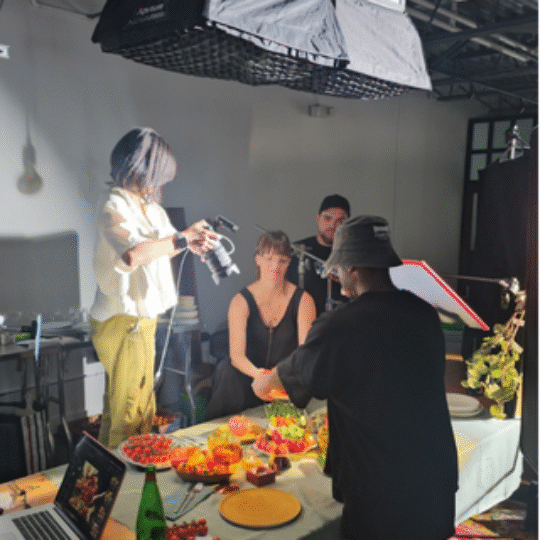


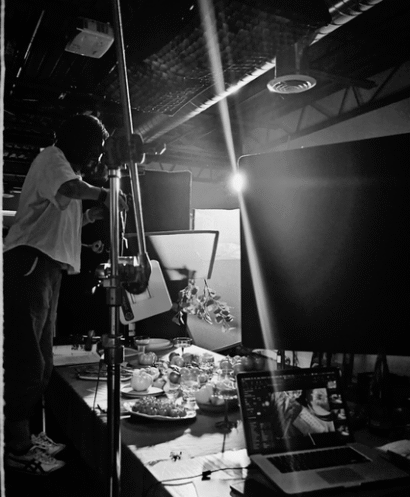
 Every photograph tells a story — but poor technique can turn that story into a liability. Research consistently shows that visual quality drives purchasing decisions: 75% of online shoppers rely on product photos when choosing what to buy, and web content featuring strong imagery earns up to 94% more views. Brands using original, high-quality photography see a 35% increase in consumer trust — while inconsistent lighting and poor composition can reduce perceived trustworthiness by as much as 34%.
The gap between a compelling image and a forgettable one often comes down to a handful of avoidable errors. Whether you’re photographing a dish for your King West restaurant menu, a product for your Yorkville boutique, or team headshots for your Bay Street firm, the same technical and creative missteps appear again and again.
The Real Cost of Bad Lighting
Poor lighting remains one of the most damaging photography mistakes. Harsh midday sun carves unflattering shadows across faces and bleaches out detail. A camera’s built-in flash flattens everything, stripping away natural depth. On-camera flash creates direct front light — the worst setup for food photography. It washes out colours, creates harsh reflections on sauces, and eliminates texture entirely.
For Toronto restaurant and food businesses, the culprit is often overhead. Ceiling fixtures cast flat, top-down light with a yellowish colour cast — around 2700K on the Kelvin scale — that destroys texture and makes food look lifeless. Turn them off.
- Position a single directional light source at a 45-degree angle from the back of the dish.
- Use a large softbox for diffusion and control shadows with a white bounce card.
- If you use flash, choose an off-camera unit with a reflector — never direct it straight at the food.
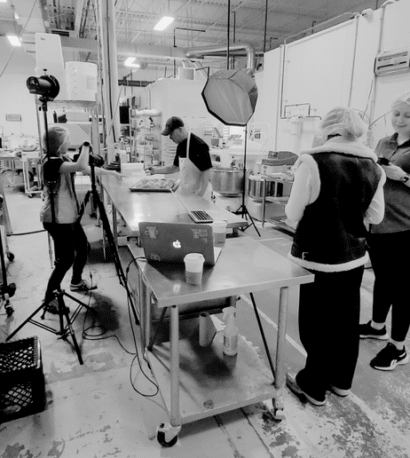
White balance errors compound the problem, causing food to look unnaturally yellow-orange (too warm) or blue-grey (too cool). Auto White Balance struggles in mixed lighting — such as a dining room lit by both windows and overhead fluorescents — producing muddy, inconsistent colour casts. Shoot in RAW format and set white balance manually. In Lightroom or Photoshop, the White Balance Selector tool corrects most casts in seconds.
Composition and Background Control
Centering the subject no matter what kills otherwise solid shots. Place your subject along grid lines rather than dead centre to give the image tension and visual interest. Tilted horizons, crooked verticals, and missing focal points are just as destructive — turn on your camera’s grid or level overlay before shooting.
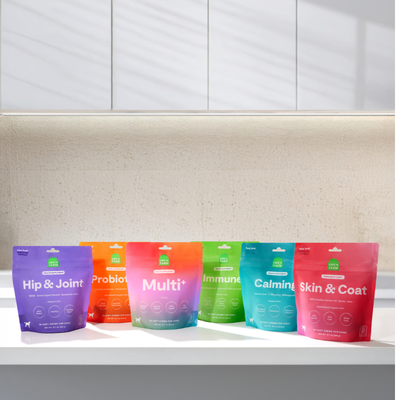
For Toronto business portraits, excessive headroom is a recurring issue. Too much empty space above the subject’s head pushes them down in the frame and dilutes their presence. Tighten the crop and reposition to make the subject look authoritative and ready for LinkedIn or your company website.
A stray utensil, a dangling extension cord, or a plastic container at the edge of the frame will quietly undermine an image. For food and commercial shoots, limit the frame to three elements maximum: the main subject, one secondary element, and one prop. Clear clutter, wipe down surfaces, and scan the edges before every shot.
- Quick composition fixes: enable the grid, straighten horizons, tighten headroom for portraits.
- Background control: remove distractions, use simple backdrops, and keep palettes complementary to the subject.
- Aperture guidance: shoot between f/2.8 and f/5.6 to let the background fall away while keeping the subject sharp.
Focus and Shooting Angle
Letting the camera choose its own focus points is a gamble — and with a shallow depth of field, you’ll lose more often than not. At f/1.4 or f/1.8, even a slight shift from your subject throws the eyes soft while the background stays crisp. For Bay Street corporate headshots or Yorkville portrait sessions, that produces an unusable image.
- Switch to spot autofocus and lock the focus point on the nearest eye for portraits.
- Step back and stop down to around f/2.8 to maintain creamy background separation while keeping the face sharp.
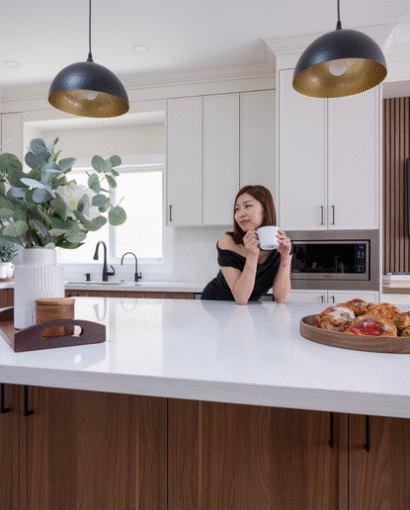
- Shooting angles make or break food photography. A soup photographed from standing height looks like a murky circle. A salad goes flat. A stacked burger loses its height entirely. Match the angle to the dish:
- Overhead: bowls, soups, flat-lay presentations.
- 45 degrees: most plated meals with visible depth and layers.
- Straight-on: tall or layered dishes, stacked burgers, layered desserts and tall cocktails.
Turn Your Visual Content into a Business Asset
With the right lighting setup, thoughtful composition, and precise focus techniques, your photography becomes a genuine competitive advantage — building trust, driving engagement, and converting browsers into buyers.
If you’re ready to elevate your brand’s visual presence with professional food, portrait, or commercial photography tailored to Toronto and GTA businesses, contact Gia Marescotti today. Let’s create images that work as hard as you do.
Elevate Your Restaurant or Brand Visuals with Professional Photography
Great food deserves great photography — and avoiding the mistakes outlined above starts with working with the right professional. Gia Marescotti is a Toronto-based photographer with deep expertise in food, beverage, commercial, and portrait photography, helping restaurants, retail brands, and businesses across the GTA turn their visual content into a powerful sales tool. Whether you need perfectly lit dishes that stop scrollers in their tracks or polished brand imagery that builds instant trust, Gia delivers consistent, high-quality results from concept to final shot. Don’t let poor lighting or cluttered composition cost your business — explore the portfolio at food and beverage photographer Toronto and book your shoot today.